
LiteSpeed Cache Settings (LSCache) is a powerful caching solution designed to optimize the performance of WordPress sites and other web applications. With its advanced features, it helps improve loading times, reduce server load, and enhance user experience. In this article, we will explore the essential LiteSpeed Cache settings, how to configure them, and answer some frequently asked questions.
What is LiteSpeed Cache?
LiteSpeed Cache Settings is a server-level caching technology provided by LiteSpeed Technologies. It works alongside the LiteSpeed web server, though it can also function with other servers, like Apache and NGINX, using the LiteSpeed Cache plugin. LSCache provides an array of features that include page caching, object caching, and browser caching, which all contribute to faster load times and better overall performance.
Key Features of LiteSpeed Cache
- Page Caching: LSCache stores static copies of your web pages, which means when a user requests a page, the server can deliver the cached version instead of generating the page dynamically. This significantly reduces load times.
- Object Caching: This feature caches database queries and objects, minimizing the number of database requests. This is particularly beneficial for complex sites with heavy database usage.
- Browser Caching: LSCache can instruct browsers to cache static resources like images, CSS, and JavaScript files for a specified duration. This means returning visitors can load your site faster since their browsers have already stored these resources.
- Image Optimization: LiteSpeed Cache automatically optimizes images by compressing them without sacrificing quality, which enhances loading speed and improves SEO rankings.
- CDN Integration: It allows seamless integration with Content Delivery Networks (CDNs), which help distribute your content globally, improving accessibility and speed for users, regardless of their location.
Getting Started with LiteSpeed Cache Settings

Before diving into the settings, ensure that you have the LiteSpeed Cache Settings plugin installed and activated on your WordPress site. You can find it in the WordPress plugin repository. Once activated, you’ll find a new menu item in your WordPress dashboard labeled “LiteSpeed Cache.”
Basic Configuration Steps
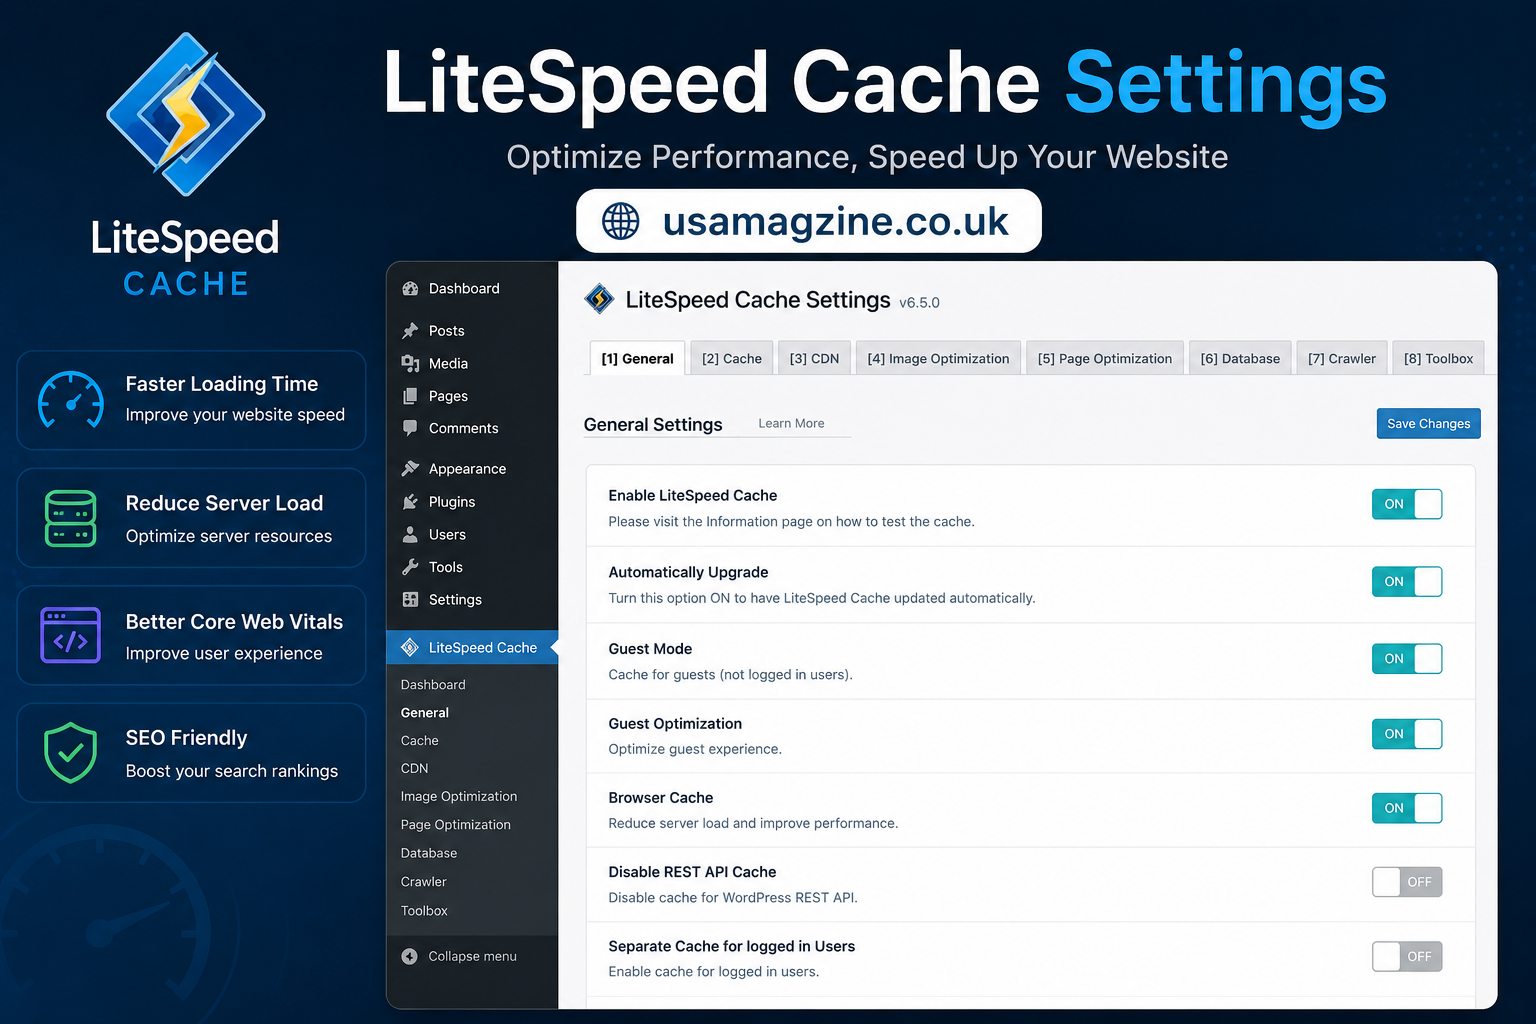
- General Settings: The first thing to do is navigate to the Settings tab. Here, you can enable or disable caching features. It’s advisable to enable caching for both logged-in and logged-out users, as this can tremendously enhance performance for all visitors.
- Cache TTL (Time to Live): Adjust the TTL settings for different cache types. The default values are usually suitable, but you might want to tweak them based on your site’s update frequency. For example, if your content changes frequently, consider reducing the TTL for page cache.
- Purge Settings: Configure automatic purge settings to ensure your cache clears when content is updated. You can set it to purge on post updates, comments, or even when a scheduled post is published. This keeps your site fresh and up-to-date without manual intervention.
Advanced LiteSpeed Cache Settings
Once the basic settings are configured, it’s time to dive into advanced settings to maximize your caching capabilities.
- Esi (Edge Side Includes): ESI allows you to cache dynamic content separately, meaning that static parts of your webpage can still be cached while allowing certain sections to update in real time. This is useful for e-commerce sites that require dynamic elements like a shopping cart.
- Object Cache: If your site relies heavily on database queries, enabling object caching can significantly reduce loading times. Go to the Object tab and select the caching method. The default method is usually effective, but consider using Redis or Memcached for larger sites.
- Browser Cache Settings: In the Browser tab, you can configure rules for how browsers cache your resources. Options include setting cache expiration times and enabling cache for specific file types. A well-configured browser cache can improve performance for returning visitors.
Best Practices for Optimizing LiteSpeed Cache
To get the most out of LiteSpeed Cache Settings follow these best practices:
- Regularly Monitor Cache Performance: Use tools like Google PageSpeed Insights or GTmetrix to monitor your site’s speed and performance. This can help you identify if your caching settings are effective or if adjustments are necessary.
- Clear Cache Regularly: While automatic purging is helpful, it’s also a good practice to manually clear the cache after making significant changes to your site. This ensures that users see the most current version of your content.
- Optimize Images: Use the built-in image optimization features to reduce file sizes without compromising quality. This not only enhances loading speed but also improves SEO performance.
- Test Different Configurations: Experiment with various settings to find the optimal configuration for your specific site. Caching needs can vary significantly based on site type and traffic levels.
Frequently Asked Questions (FAQ)
1. How does LiteSpeed Cache improve website performance?
LiteSpeed Cache Settings enhances website performance by storing a static version of your pages, reducing server load, and minimizing database queries. This leads to faster load times and a better user experience.
2. Is LiteSpeed Cache compatible with other caching plugins?
While LiteSpeed Cache can work with other caching plugins, it is recommended to use it as a standalone solution. Using multiple caching plugins can lead to conflicts and hinder performance.
3. How can I ensure my cache is up-to-date?
You can configure automatic purging settings in LiteSpeed Cache to clear the cache whenever you update posts, pages, or other content. Additionally, manually clearing the cache after significant changes is a good practice.
4. Can LiteSpeed Cache be used on shared hosting?
Yes, LiteSpeed Cache Settings can be used on shared hosting environments that support LiteSpeed servers. However, for optimal performance, consider using a hosting provider that specializes in LiteSpeed technology.
5. What should I do if my site is still slow after enabling LiteSpeed Cache?
If your site remains slow despite enabling LiteSpeed Cache Settings consider optimizing other aspects such as image sizes, reducing the number of plugins, and ensuring that your hosting environment is suitable for your traffic levels.
Conclusion
LiteSpeed Cache settings are crucial for optimizing your website’s performance. By understanding how to configure these settings effectively, you can significantly improve loading times, enhance user experience, and boost your SEO rankings. Remember to monitor your site’s performance regularly and adjust settings as needed to keep your site running smoothly. With the right configurations, LiteSpeed Cache can be a game-changer for your website.